Apartment Photos Without a Photographer – 9 Tips to Boost Bookings!
High-quality photos of an apartment directly impact financial results – according to Airbnb data, listings with bright, well-composed photos generate up to 40% more revenue and 24% more bookings. It’s those first snapshots that determine whether a guest will click on your listing or move on to a competitor’s. In this article, we’ll walk you through a proven process for photographing interiors: from styling the space and using natural light, to framing and equipment tips, all the way to safe post-production and profitability analysis. Apply these principles before you list your property on Airbnb, Booking.com, or your own website with a booking calendar.
How do you style a bedroom, kitchen, and living room so that the photo encourages bookings?
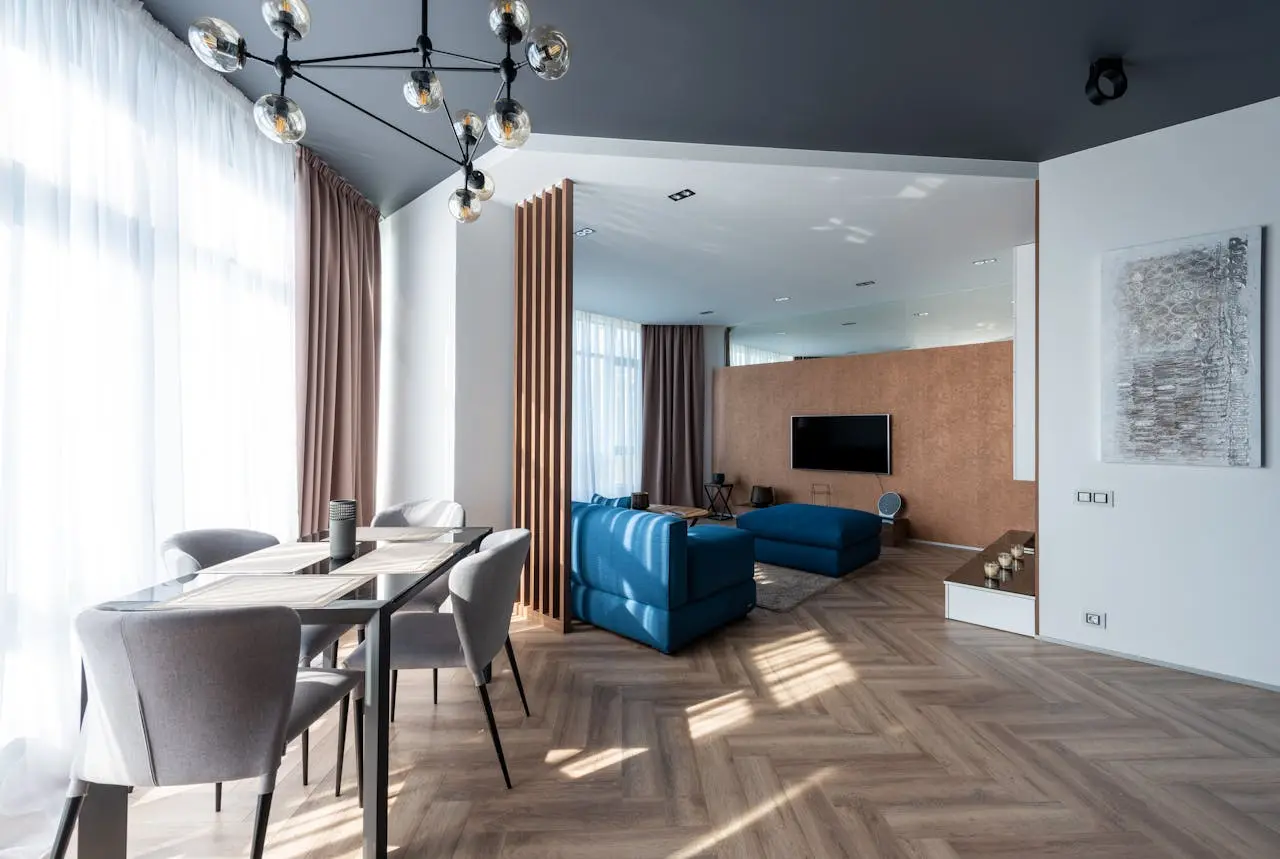
Before you grab your camera, work on the space. Home staging isn’t a luxury – it’s the simplest way to make an ordinary interior look like a place worth spending your vacation in. Comprehensive styling takes just 15-20 minutes per room (about 1.5-2 hours for the entire property), but it’s this step that sets amateur photos apart from listings that actually sell.
- Bedroom – carefully arrange decorative pillows and a throw draped over the bed; iron the sheets; avoid visible creases.
- Kitchen – place fresh fruit, herbs in a pot, or a cup of coffee on the countertop. Empty, sterile countertops look cold and uninviting in photos.
- Living Room – add an element of “a moment of relaxation”: wine glasses, an open book, a candle. This creates an association in the visitor’s mind with relaxation, not just the square footage.
- Tidiness and decluttering – remove cables, remote controls, personal items, and anything else that distracts the eye. The less “clutter,” the larger the interior appears.
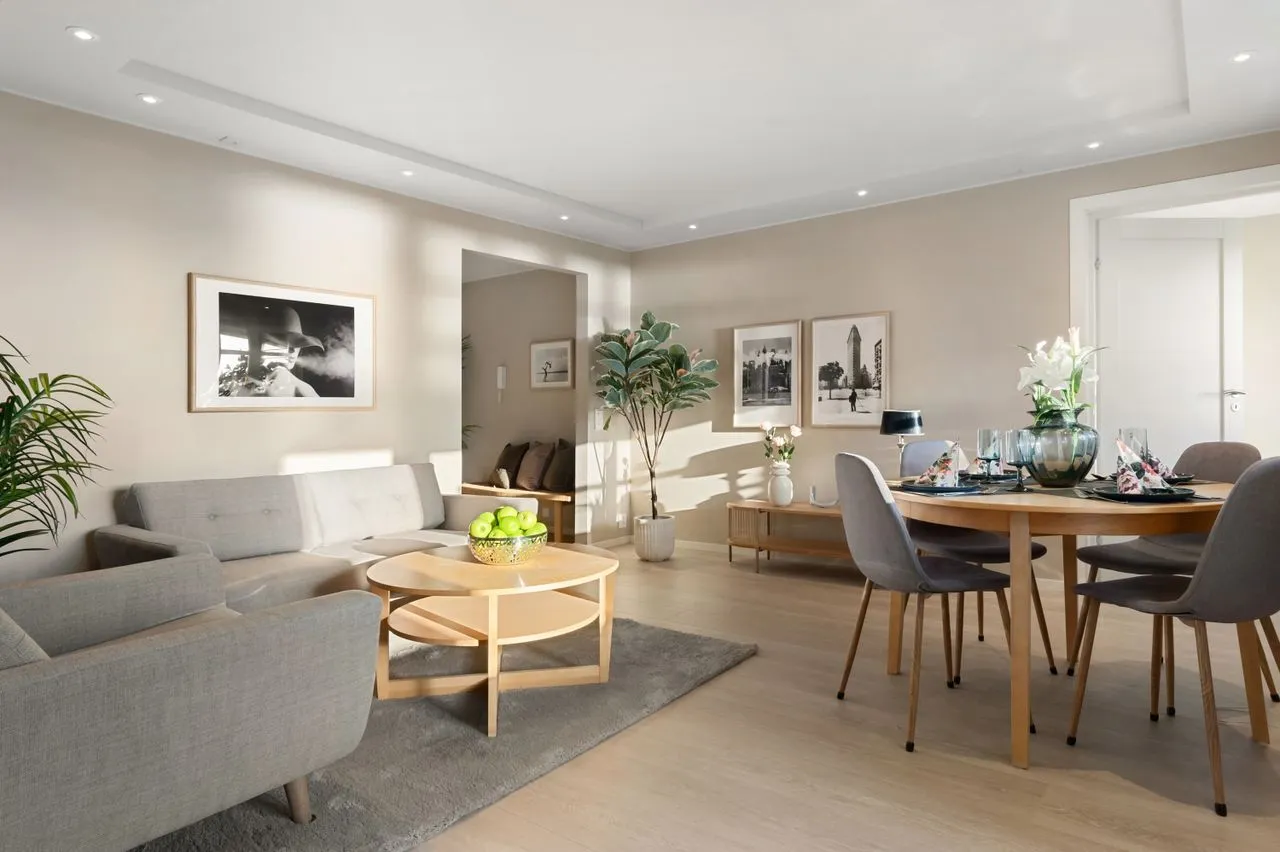
How can you use natural light in interior photography to make a room look bigger?
Light is the most important – and cheapest – tool in interior photography. Bad lighting can ruin even the best-styled interior.
- The time of day matters: Shoot during the day when the room receives the most natural light. East-facing rooms look best in the morning, while west-facing rooms look best in the afternoon.
- Avoid artificial light: Don’t take photos on a cloudy day or after dark. The light from incandescent bulbs casts a yellow tint that’s difficult to correct in post-processing.
- Maximum brightness: Pull the curtains open and raise the blinds as high as possible – brightness itself makes the room appear larger.
- Tripod and stabilization: Indoor lighting can be tricky, and your hand always causes micro-vibrations. Watch out for camera shake – even the simplest phone tripod for about 30 zł drastically improves the sharpness of indoor photos, eliminating blurry shots.
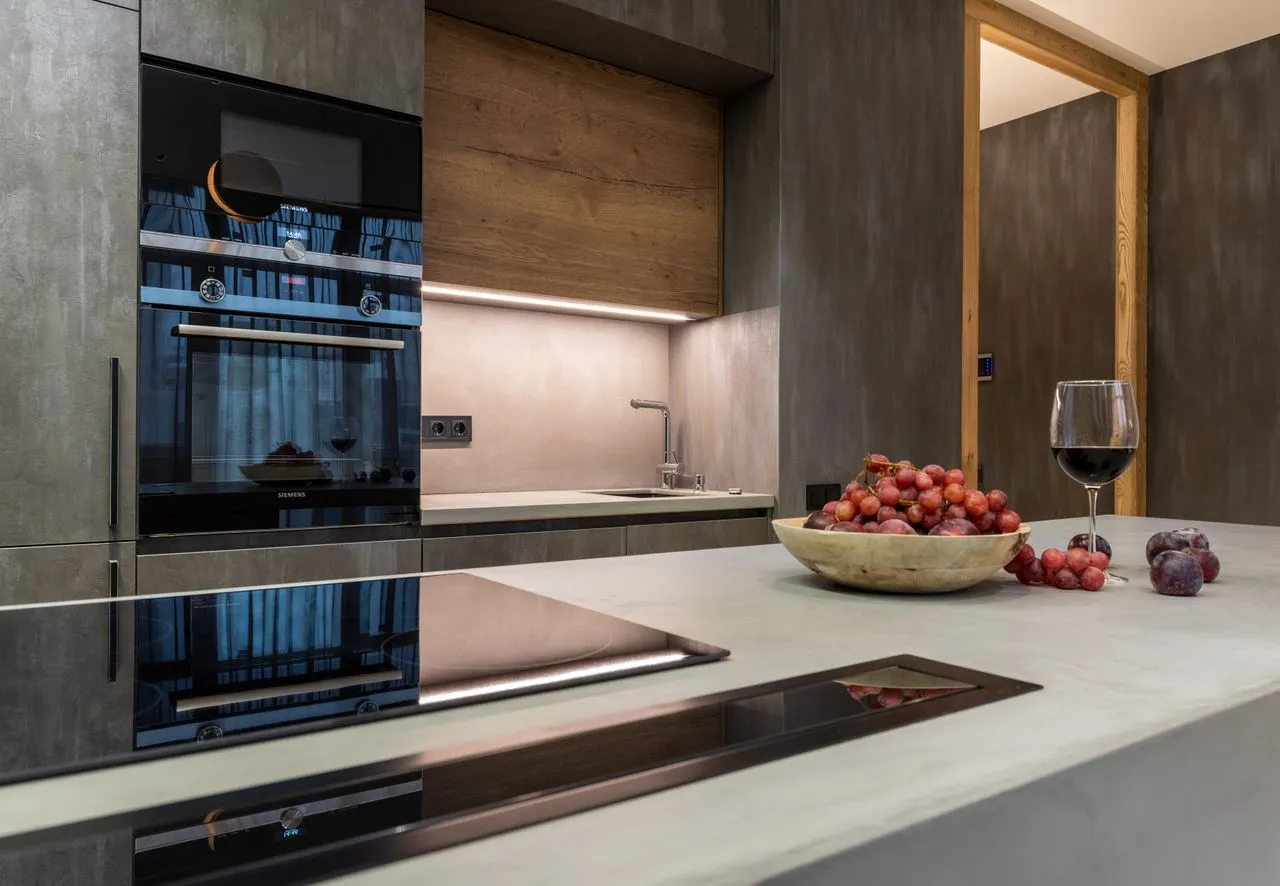
What framing and angle will turn your apartment into an Airbnb bestseller?
Composition is the foundation of good interior photography – it determines whether a room in a photo looks spacious or cramped. Over 90% of guests decide whether to click on a listing based on the first 5 photos in the gallery, and the main photo (thumbnail) accounts for 25-30% of the click-through rate (CTR). A full photo gallery for a 30-60 m² apartment should include 20 to 35 photos (3-5 shots per room).
- Camera height: Take photos from a height of 100-120 cm (waist level or door handle height). Holding your phone at eye level flattens the perspective.
- Corner instead of a wall: Angle the camera slightly toward the corner of the room – this allows you to capture more space than a photo taken “head-on.”
- Be careful with super-wide-angle mode (0.5x): Many people automatically turn on 0.5x mode on their phone to fit the entire room in the frame. Be careful – it can unnaturally distort the walls and create an exaggerated “fish-eye” effect. Instead, take a step back or use the standard lens (1x) to maintain natural proportions.
- Keep verticals straight: Make sure vertical lines (walls, door frames) are straight. A skewed frame makes the interior look messy.
- Show the layout: In a bedroom, the shot should also include a window, a closet, or part of the bathroom entrance so that the guest can more easily understand the floor plan of the apartment.
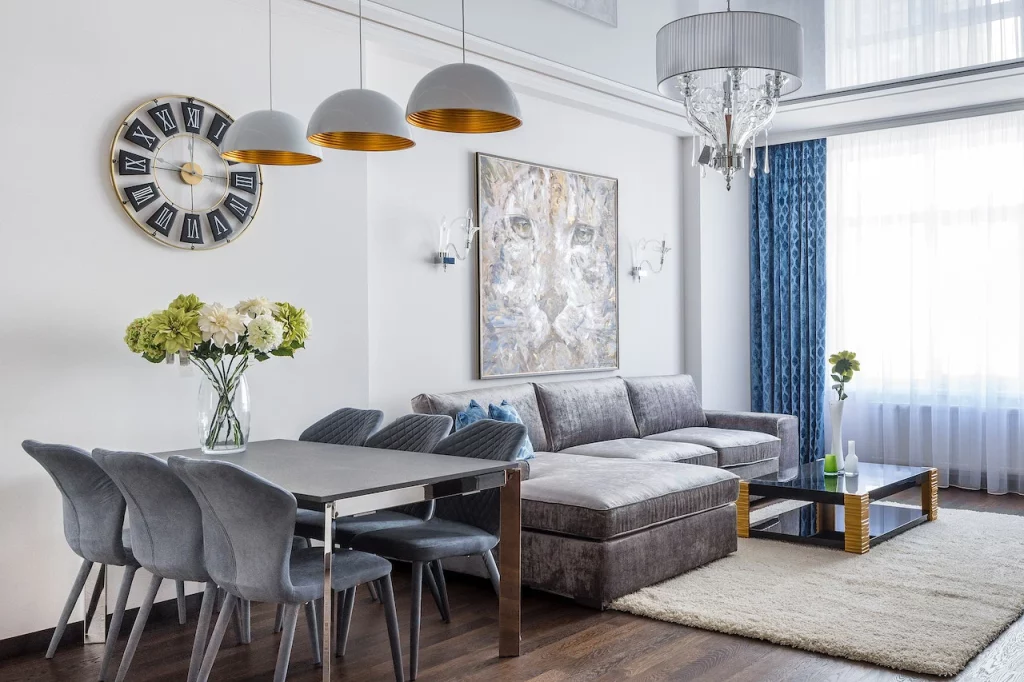
A Few Tips: How to Improve Photos Without Expensive Editing Software?
Post-processing involves a few quick adjustments you can make using free apps (Snapseed, the free version of Lightroom Mobile ).
- Adjust the white balance: Remove any yellow or blue tint using the automatic correction tool.
- Brightness and contrast: Gently increase the brightness, avoiding the “blown-out” effect.
- Straighten lines: Use the perspective correction tool.
- Be honest: Over 60% of negative reviews (1-3 stars) on Booking.com and Airbnb result from photos not matching reality. A drop in your rating below 4.8 on Airbnb or 8.5 on Booking.com drastically lowers your search ranking – so don’t add furniture or views during editing that aren’t actually there.
Once your new photos attract your first guests, make sure to handle the growing interest efficiently and stress-free. As bookings increase from multiple platforms at once, it’s easy to make a mistake or end up with costly overbooking. The BedBooking app lets you automatically sync calendars from Airbnb, Booking.com, and your own website in one place, making it easy to manage a full calendar.
I want to organize my reservations and automate my work as much as possible.
Free booking calendar and no strings attached for 30 days. All you need is an email address.
Take photos yourself or hire a photographer? A comparison of costs and results
Investing in professional photos offers a high ROI – the cost of a photo shoot usually pays for itself after just 1-2 bookings. See which option works best for you:
| Criterion | Photos taken by yourself (smartphone) | Professional photographer |
| Cost | 0 PLN (your own equipment + tripod, approx. 30 PLN) | 300–800 PLN per session |
| Time and availability | Available immediately, full flexibility | Requires scheduling an appointment and waiting for post-processing |
| Quality and lighting | Good when following the guidelines from the article | Consistently high quality, professional equipment, and HDR processing |
| Impact on CTR and revenue | Sufficient for stable occupancy | Highest (up to +40% revenue in the premium segment) |
| When is it profitable? | Smaller venues, budget segment, frequent changes in decor | Premium properties, high competition, after a complete renovation |
For most properties in the mid-range segment, well-executed DIY interior photography is fully sufficient – a professional photographer is an investment reserved for the higher-end segment.
Checklist: 9 Steps to Photos That Boost Occupancy
- Tidy up and style each room (declutter + add relaxing accents).
- Take photos during the day, making the most of natural daylight.
- Open the curtains and blinds to let in as much light as possible.
- Use a tripod costing about 30 zł to eliminate micro-vibrations and improve sharpness.
- Frame your shots in the corner of the room, avoiding excessive super-wide-angle mode (0.5x), which distorts the walls.
- Keep vertical lines straight (walls, window frames).
- Take 20-35 photos of the entire space, focusing on the first 5 shots.
- Adjust the white balance and brightness using a free app (e.g., Snapseed).
- Maintain 100% realism to avoid negative reviews and a drop in ratings.
Your photos are ready to attract guests and boost occupancy rates. Once you’ve posted an attractive listing, make sure to handle incoming inquiries efficiently. Try BedBooking for 30 days free of charge and see for yourself how convenient it is to manage your calendar, prices, and bookings from all platforms in one place.
FAQ – Frequently Asked Questions About Interior Photography for Rental Properties
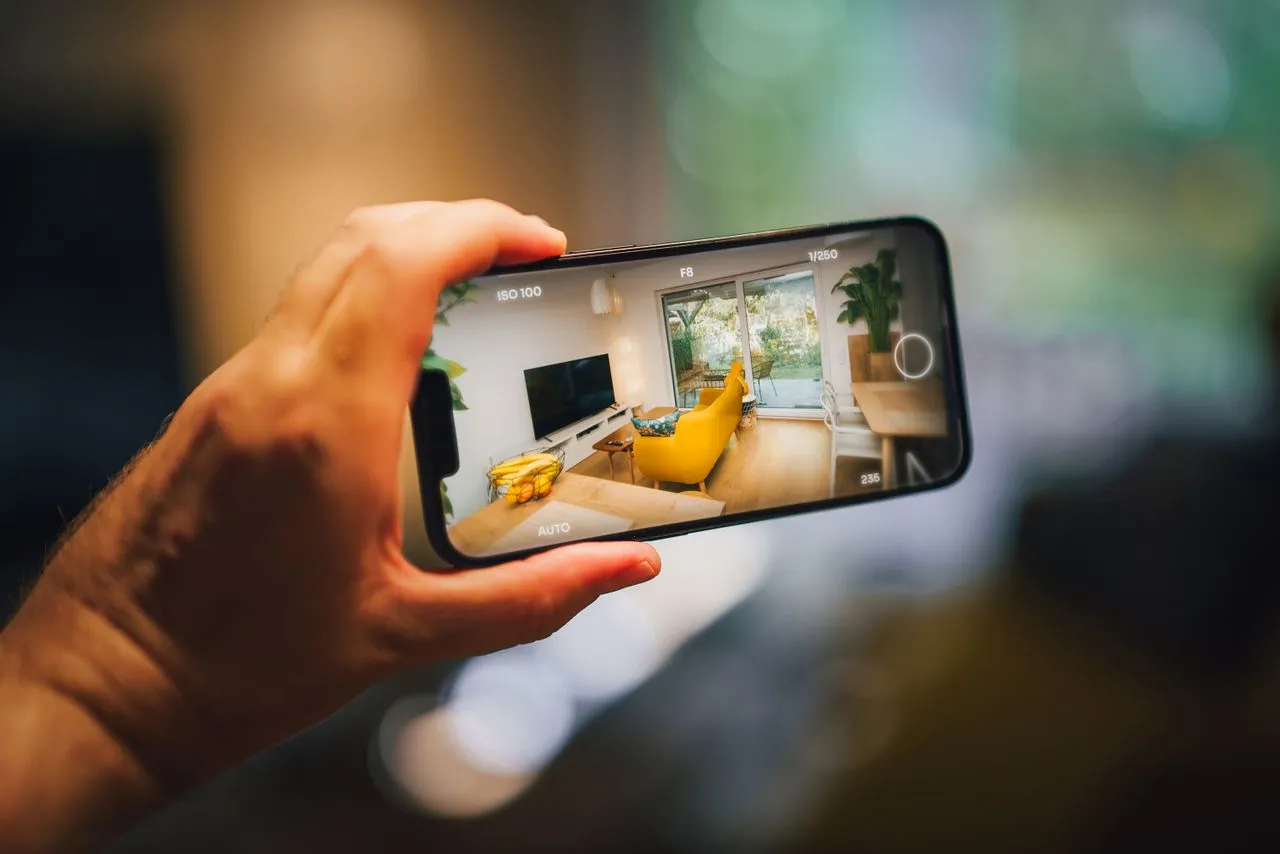
All you need is a smartphone mounted on an inexpensive tripod (starting at 30 zł to ensure sharp focus), natural daylight, visual “clutter” removed, and thoughtful home staging (fresh herbs, wrinkle-free bedding). Hold the camera at the height of a doorknob (100–120 cm), avoid 0.5x zoom mode, and make sure vertical lines are straight. The same rules of interior photography – lighting, composition, and the absence of visual clutter – apply whether you’re shooting with a smartphone or a camera.
The optimal number for an apartment with an area of 30–60 m² is 20 to 35 photos (3–5 per room). The first 5 photos and the thumbnail are the most important, as they account for the majority of clicks.
It’s best to take them during the day in soft natural light – in the morning for east-facing rooms, and in the afternoon for west-facing ones. Avoid taking photos after dark and mixing artificial light from light bulbs with natural light from the window.
Yes, if your property is competing in the premium segment or in a highly competitive market. The cost of 300–800 PLN usually pays for itself after 1–2 bookings, thanks to a revenue increase of up to 40%.
Yes – a smartphone is more than enough for a professional-looking photo shoot if you follow the same principles as when using a camera: natural daylight, stabilization on a tripod costing about 30 zł, framing in the corner from a height of 100-120 cm, and a standard lens (1x) instead of super-wide-angle mode (0.5x), which distorts the walls. The quality of a phone’s camera sensor is of secondary importance today – lighting and composition account for 80% of the final result, not the equipment. Hiring a professional photographer only makes sense in the premium segment or when there’s strong local competition.
For a 30–60 m² apartment, the entire process – styling + photography – usually takes 2-3 hours: about 1.5-2 hours for home staging all the rooms and 30–60 minutes for the actual photography, assuming you take 3-5 shots per room. It’s a good idea to schedule the session on a sunny day, at a time when the light hits the key rooms best (morning for east-facing rooms, afternoon for west-facing rooms), so you don’t have to come back the next day to make adjustments.